
Setting up the player HUD and basic UI settings.
In this tutorial we’ll set up a UI box we’ll use later and a simple HUD to display the player’s score and lives.
If you remember, we’ve already set the Makinom project’s UI system to use the Unity UI module, i.e. we’ll do most of the setup in the scene, using components and the Unity UI. You can learn more about UI systems in general in this documentation, or about the Unity UI module in this documentation.
UI Box #
First, let’s set up the UI box – we’ll use it later to display a game over message and have the player confirm it to restart the game. At the end we’ll create a prefab out of our UI box setup and use it in the UI box in the Makinom editor. The button to confirm will be a separate prefab – we could also set up a button directly on the UI box, but usually you don’t have a fixed button, rather have Makinom add the required inputs for you.
Creating a UI Box #
The easiest way to set up a UI box is using the context menu in the scene hierarchy: Makinom > UI > UI Box > UI Box (TextMesh Pro)
This already gives us all we need, but we can style it to our liking, e.g. change the position or size of the box, or change the font, font size or alignment.
TextMesh Pro – Text (UI) #
I’ll change the text to be centered and use a larger font size – select the Text child object of the created UI Box game object and change the TextMesh Pro – Text (UI) component’s settings.
- Font Size
Set to 35. - Alignment
Select Center.
I’ll also add a Content Size Fitter component to the UI Box, to automatically adjust the height to the displayed text.
- Vertical Fit
Select Preferred Size.
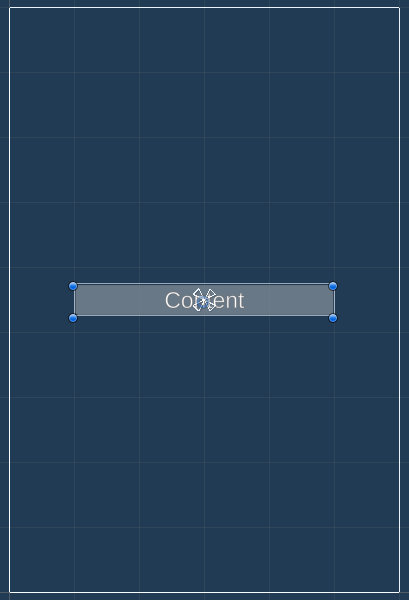
That’s it for the UI box – now create a prefab out of it by dragging the UI Box game object from the scene hierarchy to the project view, e.g. into a new folder in Assets/Tutorial Resources/Prefabs/UI/.
Creating a Choice Button #
Remove the UI box from the canvas in the scene and use the context menu in the scene hierarchy to create a choice button: Makinom > UI > UI Box > Input > Choice Button (TextMesh Pro)
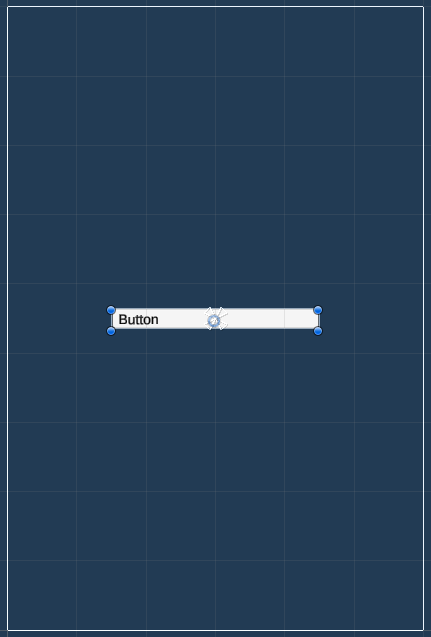
This is pretty much ready to use as it is, so we’ll create a prefab out of it as well.
HUD #
Next we’ll set up the HUD to display the player’s score and lives. We’ll show them in the upper left corner of the screen.
Use the context menu in the scene hierarchy to add a simple HUD: Makinom > UI > HUD > HUD
Rect Transform #
Change the newly created HUD’s Rect Transform:
- Width
Set to 600. - Height
Set to 100. - Anchors
Use the top left anchor preset.
Now move it to the upper left corner of the canvas.
Add a HUD Text Content to the HUD using the scene hierarchy context menu: Makinom > UI > HUD > Content > Text Content (TextMesh Pro)
Adjust the new game object’s bounds to match the parent HUD’s bounds (or place it any way you like).
HUD Text Content Component #
This component is responsible for setting the TextMesh Pro component’s text in the HUD, we’ll use a Makinom text code to show the value of our lives int variable.
- Default Content
Set to:
<size=40px>Score: <var.int=score></size>
Lives: <var.int=lives> - Variable Origin
Select Global.
You can display int variables using the text code <var.int=key>, replacing key with the variable key you want to show.
TextMesh Pro – Text (UI) #
As before, I’ll only use a larger font size – select the Text child object of the created Text Content game object and change the TextMesh Pro – Text (UI) component’s settings.
- Font Size
Set to 30.

That’s it for the HUD – now create a prefab out of it by dragging the HUD game object from the scene hierarchy.
With that we’re done with the setup of our UI prefabs, but we need to clean up the Canvas and Event System that where created by Unity for our UI setup in the scene. In the scene hierarchy, select the Canvas and EventSystem game objects and delete them (e.g. via the Delete key).
Using the UI Prefabs #
All that’s left to do is use the UI prefabs we just set up in Makinom.
UI System #
First, we’ll use the choice button prefab we created as the default choice button. Navigate to UI > UI System and change the following settings.
Default UI Prefabs #
- Button Prefab
Select the Choice Button prefab we created.
UI Box 0: Message #
Navigate to UI > UI Box, select the Default UI box and change the following settings.
Base Settings #
- Name
Set to Message. - UI Layer
Select Layer 1.
Unity UI #
If you don’t have the Unity UI settings available, you probably forgot to set the UI system to use the Unity UI module, go back to the first tutorial to check out how to do it.
- UI Box Prefab
Select the UI Box prefab we created.
That’s it for the UI box.
HUD 0: Player #
Navigate to UI > HUDs and select the Default HUD that’s already been added in the initial project setup. Change the following settings.
HUD Settings #
- Name
Set to Player. - HUD Type
Select Information. - Auto Display
Enable this setting.
Information Settings #
- User
Select None. - Display Without User
Enable this setting.
Display Conditions #
We don’t want to display this HUD while changing scenes (e.g. when reloading the scene during game over).
Click on Add Game State.
- Condition Type
Select Game State. - Game State
Select Changing Scene. - Check State
Select Inactive.
Unity UI #
- UI Layer
Select Layer 1. - HUD Prefab
Select the HUD prefab we created.
And that’s it – click on Save Settings to save the changes.
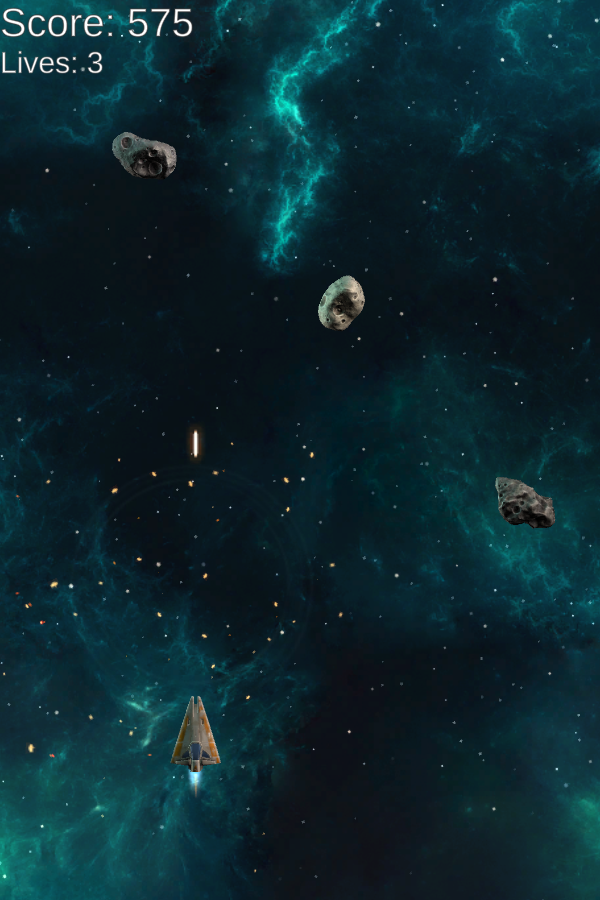
Testing #
Click on Play to test the game. You’ll now see the HUD displayed in the upper left corner of the screen – it’ll update when the player’s score is increased. The lives are currently not updated, because this game logic isn’t yet added to the game – this will be our next task.
The next tutorial will handle the player’s destruction.


