Setting up the game’s UI.
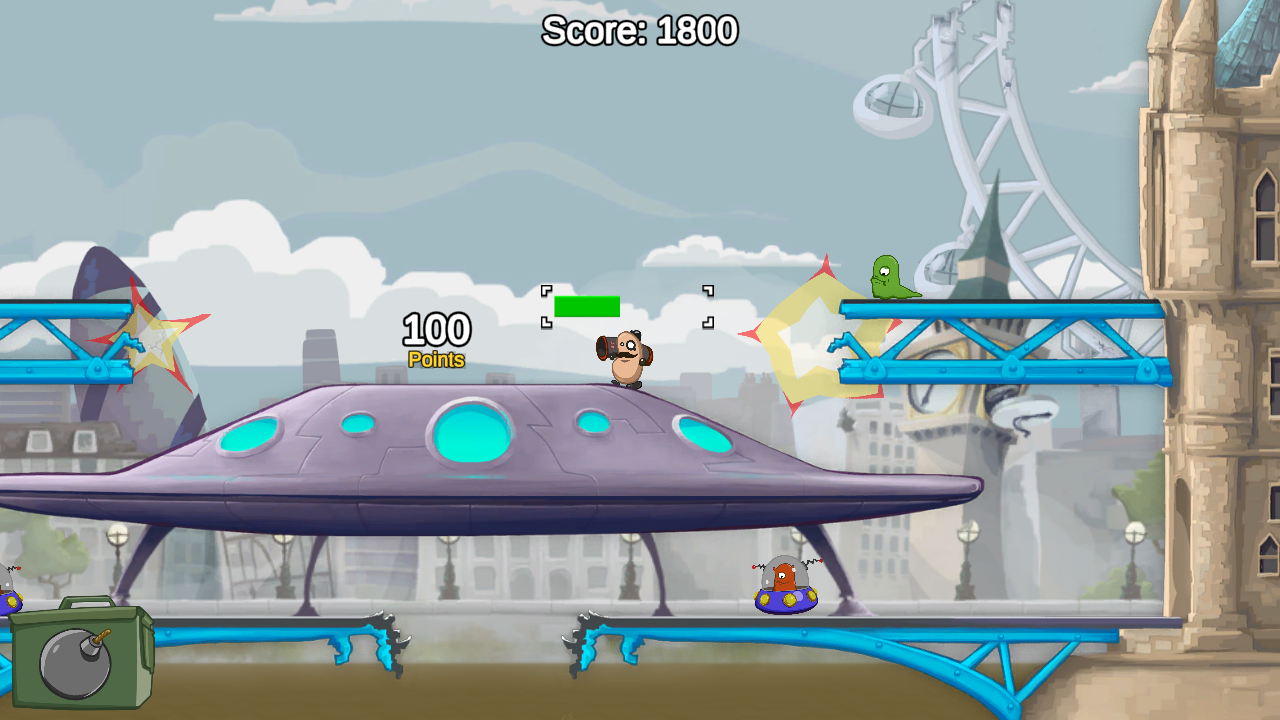
In this tutorial we’ll set up the HUDs to display the player’s health, score and bombs, as well as the flying text UI prefab.
If you remember, we’ve already set the Makinom project’s UI system to use the Unity UI module, i.e. we’ll do most of the setup in the scene, using components and the Unity UI. You can learn more about UI systems in general in this documentation, or about the Unity UI module in this documentation.
Flying Text Scene Setup #
First, let’s set up the flying text prefab – we’ll use it in the EnemyDeath schematic to actually show the points.
Creating a Flying Text #
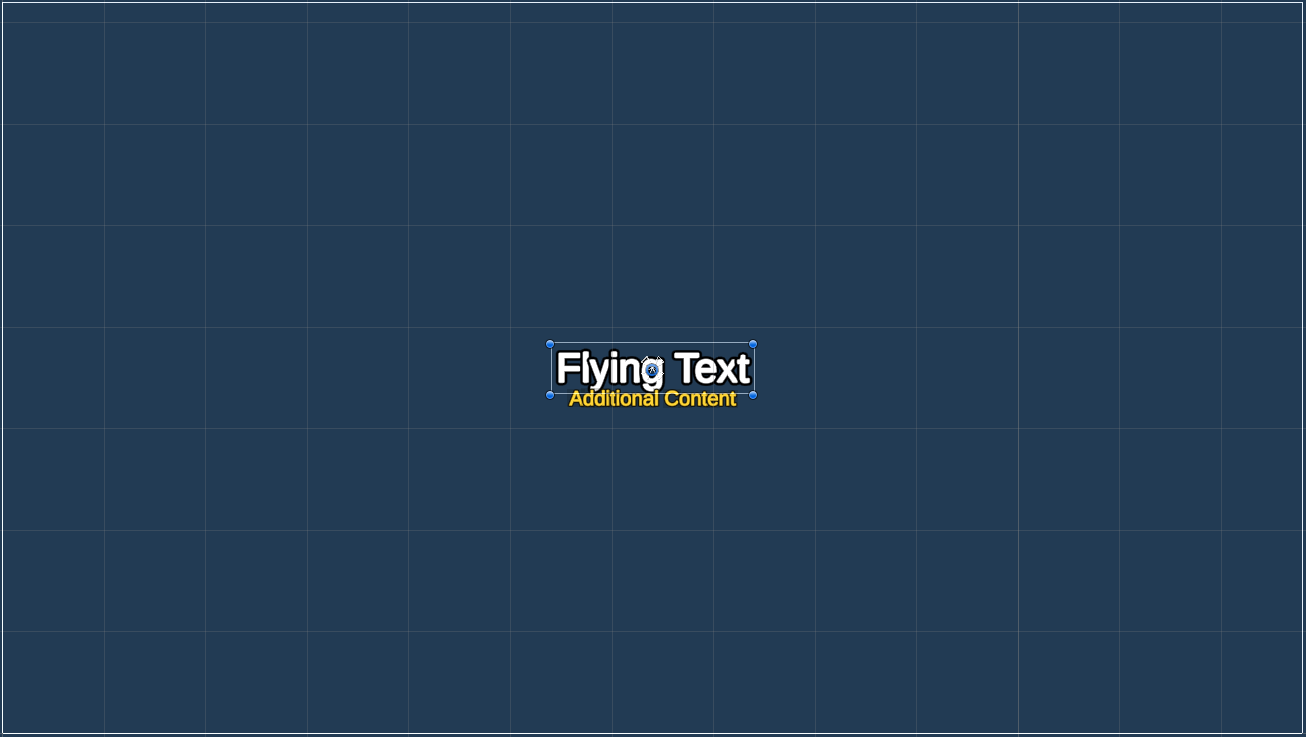
The easiest way to set up a UI box is using the context menu in the scene hierarchy: Makinom > UI > Flying Text (TextMesh Pro)
This already gives us all we need for a basic flying text, but we can style it to our liking, e.g. change the font, font size or alignment. We also need to set up the additional content (points content ID).
TextMesh Pro – Text (UI) #
I’ll change the font size – select the Text child object of the created Flying Text game object and change the TextMesh Pro – Text (UI) component’s settings.
- Font Size
Set to 40. - Wrapping
Select Disable.
Additional Content #
We’ll add an additional content to the flying text (have the Flying Text game object selected) using the context menu: Makinom > UI > Flying Text – Additional Content (TextMesh Pro)
The newly created Additional Content game object should now be selected.
Rect Transform #
The text should be displayed below the main text.
- Pos X
Set to 0. - Pos Y
Set to -30. - Width
Set to 200. - Height
Set to 50.
TextMesh Pro – Text (UI) #
I’ll change the font size – select the Text child object of the created Additional Content game object and change the TextMesh Pro – Text (UI) component’s settings.
- Font Size
Set to 20. - Vertex Color
Select a yellow/golden color.
I’m using hex color FFD534. - Wrapping
Select Disable.
Content ID #
We need to set the content ID for the additional content. The content itself has already been added to the UI Flying Text component as additional content.
Select the Flying Text game object and change the following settings in the UI Flying Text component in Content > Additional Content 0.
- Content ID
Set to points.
That’s it for the flying text setup – now create a prefab out of it by dragging the Flying Text game object from the scene hierarchy to the project view, e.g. into a new folder in Assets/Tutorial Resources/Prefabs/UI/.
Bomb HUD #
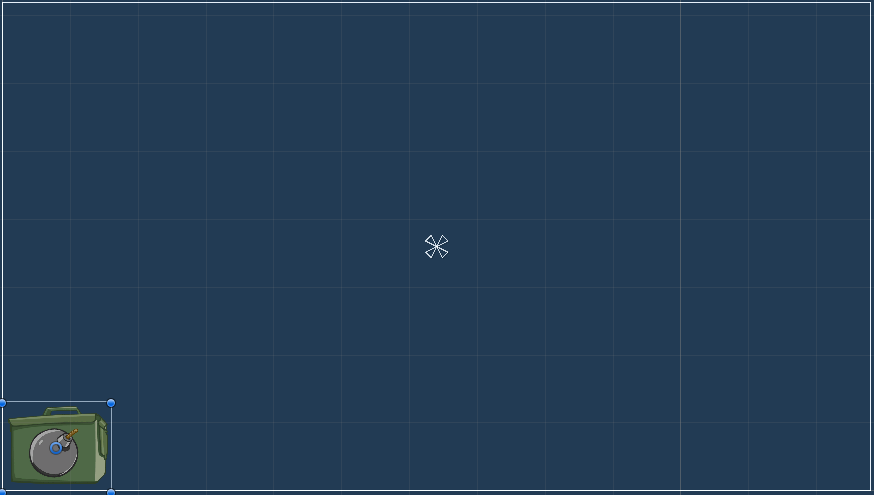
Next, we’ll set up the bomb HUD – it’ll simply display an image in the lower left corner of the screen
Use the context menu in the scene hierarchy to add a simple HUD: Makinom > UI > HUD > HUD
Bomb Image #
Add an Image component to the game object using the component menu.
Image #
- Sprite
Select prop_crate_ammo (sprite can be found at Assets/Tutorial Resources/Sprites/_Props/).
Click on Set Native Size to use the sprite’s actual size for the UI game object’s size.
The image is now pretty big – scale it down a bit using the Rect Tool, dragging one corner while holding shift until it’s about 160×130.
Now move it to the lower left corner of the canvas.
That’s it for the bomb HUD – create a prefab out of it and rename it, e.g. to Bomb HUD.
Health HUD #
Next, we’ll set up the HUD to display the player’s health. It’ll be displayed above the player, so we don’t really need to do any changes to the position (just keep it at Pos X/Y=0).
Use the context menu in the scene hierarchy to add a simple HUD: Makinom > UI > HUD > HUD
Background Image #
Add an Image component to the game object using the component menu.
Image #
- Sprite
Select Health-bg (sprite can be found at Assets/Tutorial Resources/Sprites/_UI/).
Click on Set Native Size to use the sprite’s actual size for the UI game object’s size.
Value Bar #
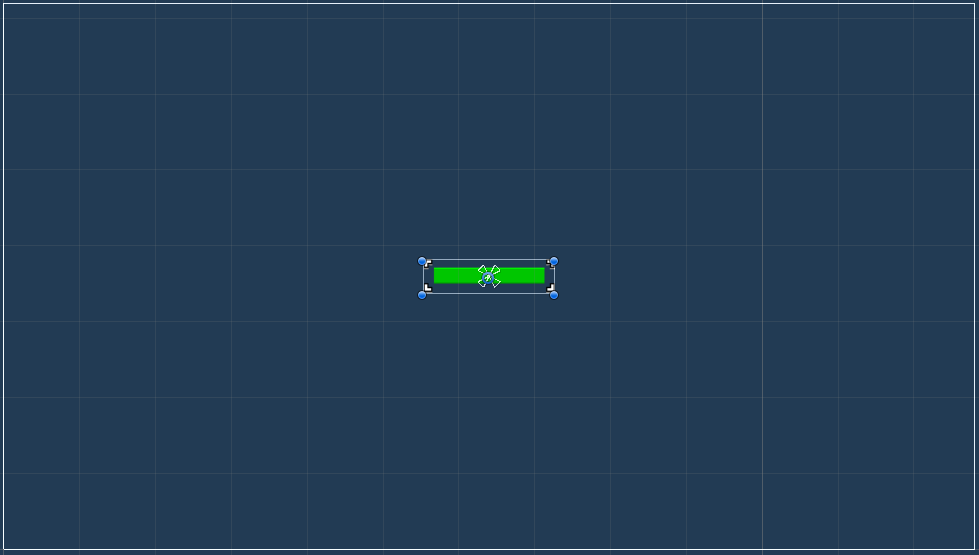
We’ll display the health as a value bar, use the context menu to add it to the HUD game object: Makinom > UI > HUD > Bar > Value Bar Content
Rect Transform #
Move and size the bar to your liking, I’m using these settings to have it fit within the background image we just added:
- Width
Set to 155. - Height
Set to 28.
HUD Value Bar Content #
The HUD Value Bar Content component is responsible for handling the numbers/values the bar represents. We’ll use it to show the player’s HUD – the player is the User of the HUD, i.e. we can access the player’s object variables via that object.
The Value handles the current value of the bar.
- Float Type (Value)
Select Variable > Int Variable. - Variable Key (Value)
Set to health. - Variable Origin
Select Object. - Game Object (Variable Origin)
Select User.
The Minimum Value defines the minimum value (i.e. an empty bar) represents.
- Value (Minimum Value)
Set to 0 (Value).
The Maximum Value defines the maximum value (i.e. a full bar) represents.
- Value (Maximum Value)
Set to 100 (Value).
Empty Sprite #
Delete the Empty Sprite child object, we don’t display an empty bar/background.
Value Sprite #
Select the Value Sprite child object and change the Image component’s settings to use a color similar to the heart image.
- Source Image
Select Health. - Color
Select a color you like, e.g. hex color 00FF00 for a good, healthy green. - Image Type
Select Filled. - Fill Method
Select Horizontal. - Fill Origin
Select Left.
That’s it for the health HUD – create a prefab out of it and rename it, e.g. to Health HUD.
Score HUD #
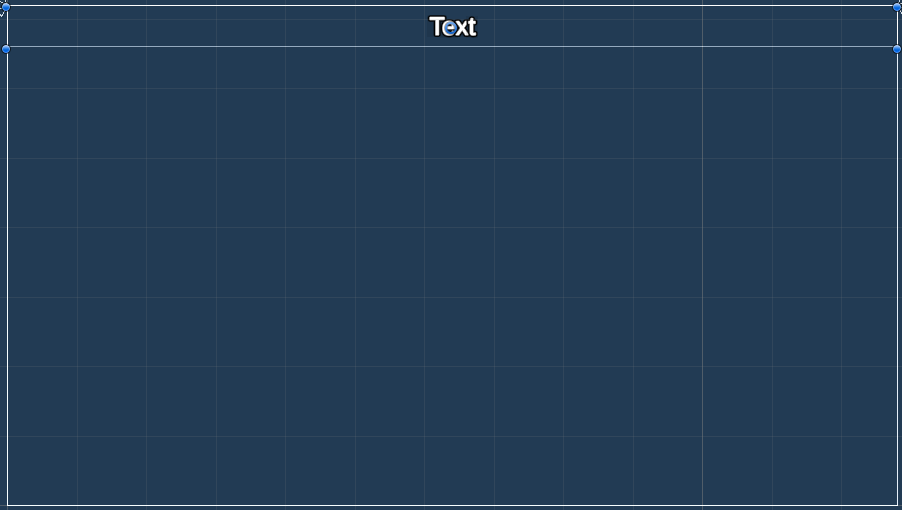
Now, we’ll set up the HUD to display the player’s score. We’ll show it at the top of the screen.
Use the context menu in the scene hierarchy to add a simple HUD: Makinom > UI > HUD > HUD
Rect Transform #
Change the newly created HUD’s Rect Transform:
- Anchors
Use the top stretch anchor preset. - Left
Set to 0. - Right
Set to 0. - Height
Set to 60.
Now move it to the top of the canvas, it should now be placed at the top across the whole width of the screen.
HUD Text Content Component #
Add a HUD Text Content to the HUD using the scene hierarchy context menu: Makinom > UI > HUD > Content > Text Content (TextMesh Pro)
Adjust the new game object’s bounds to match the parent HUD’s bounds (e.g. using stretch stretch anchor preset).
This component is responsible for setting the TextMesh Pro component’s text in the HUD, we’ll use a Makinom text code to show the value of our lives int variable.
- Default Content
Set to:
Score: <var.int=score> - Variable Origin
Select Global.
You can display int variables using the text code <var.int=key>, replacing key with the variable key you want to show.
TextMesh Pro – Text (UI) #
We’ll use a larger font size and place it in the center – select the Text child object of the created Text Content game object and change the TextMesh Pro – Text (UI) component’s settings.
- Font Size
Set to 36. - Alignment
Select Center and Middle.
That’s it for the score HUD – now create a prefab out of it by dragging the HUD game object from the scene hierarchy and rename it, e.g. to Score HUD.
With that we’re done with the setup of our UI prefabs, but we need to clean up the Canvas and Event System that where created by Unity for our UI setup in the scene. In the scene hierarchy, select the Canvas and EventSystem game objects and delete them (e.g. via the Delete key).
Using the UI Prefabs #
All that’s left to do is use the UI prefabs we just set up in Makinom.
HUD 0: Health #
Open the Makinom editor, navigate to UI > HUDs and select the Default HUD that’s already been added in the initial project setup. Change the following settings.
HUD Settings #
- Name
Set to Health. - HUD Type
Select Information. - Auto Display
Enable this setting.
Information Settings #
- User
Select Player. - Display At Object
Enable this setting. - Offset
Set to X=0, Y=-50.
Unity UI #
- UI Layer
Select Layer 1. - HUD Prefab
Select the Health HUD prefab we created.
HUD 1: Score #
Add a new HUD and change the following settings.
HUD Settings #
- Name
Set to Score. - HUD Type
Select Information. - Auto Display
Enable this setting.
Information Settings #
- User
Select None. - Display Without User
Enable this setting.
Unity UI #
- UI Layer
Select Layer 1. - HUD Prefab
Select the Score HUD prefab we created.
HUD 2: Bomb #
Add a new HUD and change the following settings.
HUD Settings #
- Name
Set to Bomb. - HUD Type
Select Information. - Auto Display
Enable this setting.
Information Settings #
- User
Select None. - Display Without User
Enable this setting.
Display Conditions #
We only display the HUD when the player has bombs, i.e. the global variable bombs is greater than 0.
Click on Add Variable Condition and change the following settings.
- Condition Type
Select Variable. - Variable Key
Set to bombs. - Variable Origin
Select Global. - Type
Select Int. - Check Type
Select Is Greater. - Check Value
Set to 0 (Value).
Unity UI #
- UI Layer
Select Layer 1. - HUD Prefab
Select the Bomb HUD prefab we created.
That’s it for the HUDs – click on Save Settings to save the changes.
Flying Text #
Finally, we need to use the flying text prefab – navigate to Schematics and open the EnemyDeath schematic.
Show Flying Text #
Select the Show Flying Text node and change the following settings.
- UI Prefab
Select Flying Text (i.e. the prefab we created).
And that’s it – click on Save Schematic to save the changes.
Testing #
Click on Play to start the game. You’ll now see the player’s health HUD above the player and the score in the upper center of the screen. After collecting a bomb, you’ll see the bomb HUD in the lower left corner of the screen.
The next tutorial will handle the background animations.
