
Setting up sound types and assignments.
In this tutorial we’ll use Sound Types and Sound Assignment components to play different audio clips when the ball hits game objects. You can learn more about this in the audio and music documentation.
Setting up the Sound Type and Template #
First, we’ll set up the sound type that we’ll use. Open the Makinom editor and navigate to Base/Control > Sound Types.
Sound Type 0: Hit #
There’s already a Default sound type added, we’ll just rename it.
- Name
Set to Hit.
Sound Templates 0: Hit Wall #
Navigate to Templates > Sound Templates and select the Default template. Change the following settings.
- Name
Set to Hit Wall.
Click on Add Sound.
- Sound Type
Select Hit. - Audio Clip
Select hit_wall.
Sound Templates 1: Hit Brick #
Add a new sound template and change the following settings.
- Name
Set to Hit Brick.
Click on Add Sound.
- Sound Type
Select Hit. - Audio Clip
Select hit_brick.
That’s it – click on Save Settings to save the changes.
Hit Sound: Schematic #
Now, we’ll create a schematic that’ll be attached to the Ball that plays the sound type when colliding with other game objects.
Navigate to Schematics, create a new schematic and change the following settings.
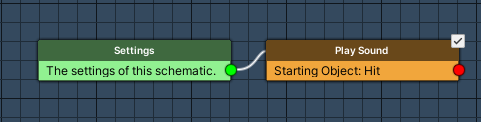
Play Sound #
Add > Audio > Audio > Play Sound
We’ll use this node to play the Hit sound type on the game object that was hit (i.e. the starting object).
Depending on the audio clip that’s assigned to the sound type on the game object (using a Sound Assignment component), a different sound will be played.
Play On #
- Object
Select Starting Object.
Audio Settings #
- Use Sound Type
Enable this setting. - Sound Type
Select Hit. - Wait
Disable this setting. - Play One Shot
Enable this setting. - Volume
Set to 1.
That’s it for the schematic – click on Save Schematic and save it as HitSound in Assets/Schematics/.
Hit Sound: Collision Machine #
Next, we’ll add the HitSound schematic to the Ball game object (child object of the Paddle game object) in the scene using a Collision Machine.
Select the Ball game object and add a collision machine component (e.g. using the component menu: Makinom > Machines > Collision Machine). Change the following settings.
Start Settings #
- Collision Enter
Enable this setting. - Start By Other (Starting Objects)
Enable this setting.
Machine Execution Settings #
- Schematic Asset
Select HitSound. - Execution Type
Select Single. - Update Type
Select Update.
Don’t forget to apply the changes to the prefab by pressing on Overrides > Apply All (top of the inspector when the Paddle game object is selected).
Sound Assignments #
We’ll now assign audio clips to the Hit sound type on different game objects using Sound Assignment components.
Paddle, Wall (x2), Roof #
We’ll assign the Hit Wall sound template to the Paddle game object, the 2 Wall game objects (child objects of the Level game object) and the Roof game object (also child object of the Level game object).
Add a sound assignment component to the game objects (e.g. using the component menu: Makinom > Scenes > Sound Assignment) and change the following settings.
- Sound Template
Select Hit Wall.
Don’t forget to apply the changes to the Paddle game object to update the prefab.
Bricks #
Finally, we’ll assign the Hit Brick sound template to the 3 brick prefabs (Brick 1, Brick 2 and Brick 3 – the prefabs can be found at Assets/Tutorial Resources/Prefabs/).
Add a sound assignment component to the prefabss (e.g. using the component menu: Makinom > Scenes > Sound Assignment) and change the following settings.
- Sound Template
Select Hit Brick.
And that’s it – don’t forget to save the scene.
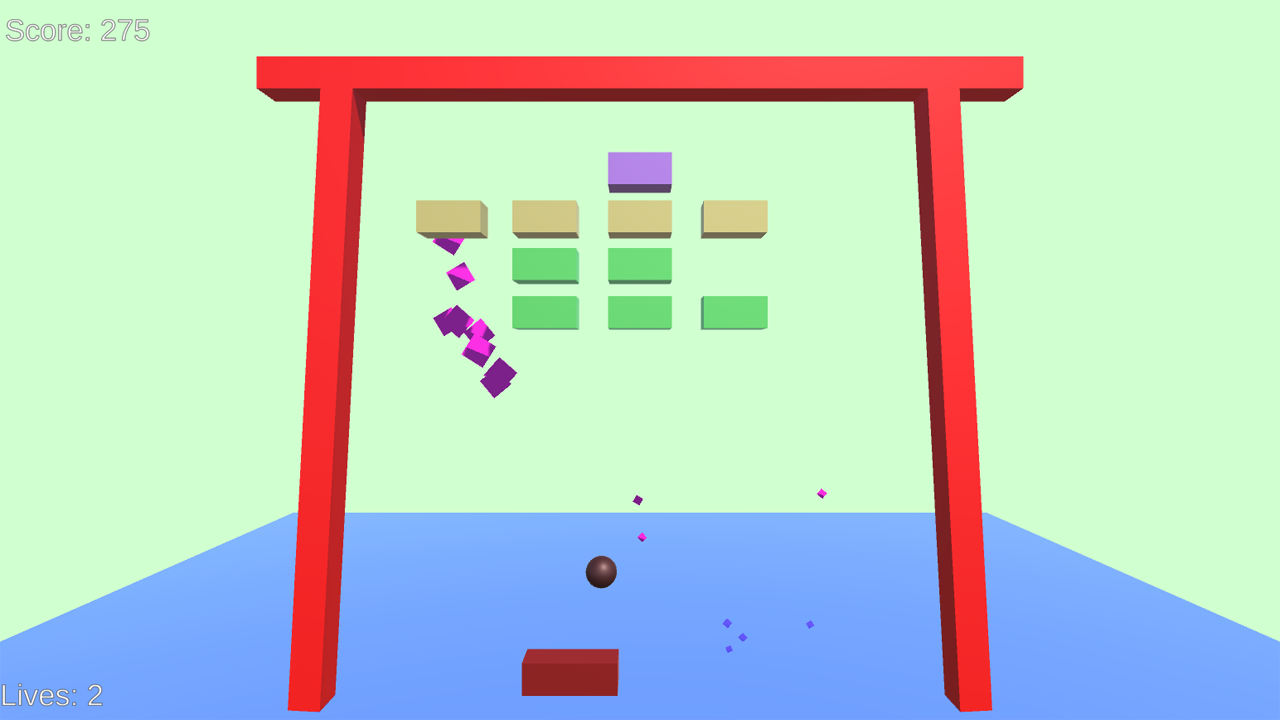
Testing #
Hit Play to test the game. Now, the ball will play sounds when colliding with the paddle, walls, roof and the bricks (which you’ll only hear for bricks that aren’t destroyed by the hit).
This concludes the breakout game tutorial series. You can add additional content to the game, e.g. new levels, harder bricks (increasing the health) or random brick placement (using a schematic that spawns bricks by chance).


