
Stetting up the jewel prefabs.
In the last tutorial we’ll set up the jewel prefabs. We’ll add an Object Variables component storing the points the player gets when destroying a jewel, an Interaction Machine for playing the Jewel Click schematic and a Tagged Machine for handling the jewel’s destruction.
Setting up the prefabs #
The setup for all jewel prefabs is the same. The following component setup can be repeated for all jewel prefabs, or you can just copy the components and paste them on the other jewels.
You can copy a component by right-clicking on the component’s name and selecting Copy Component in the context menu. To paste the component on a game object, right-click on any component’s name and select Paste Component As New in the context menu.
The jewel prefabs (blue, green, purple, red and yellow) can be found at Assets/Tutorial Resources/Prefabs/.
Object Variables #
First, we’ll set up the object variables of the jewels. Add an object variable component to the prefabs (e.g. using the component menu: Makinom > Scenes > Object Variables). Change the following settings.
- Local Variables
Enable this setting. - Always Initialize
Enable this setting.
Click on Add Variable to add an object variable.
- Variable Key
Set to points.
Select the Value string type. - Type
Select Int. - Operator
Select Set. - Float Value
Set to 10 (Value).
Jewel Click: Interaction Machine #
Next, we’ll add the Jewel Click schematic using an interaction machine component. The schematic handles the game controls, swapping jewels and searching/destroying matching jewels.
Add the component to the jewel prefabs (e.g. using the component menu: Makinom > Machines > Interaction Machine). Change the following settings.
Start Settings #
- Start
Mouse Down this setting.
Machine Execution Settings #
- Schematic Asset
Select JewelClick. - Execution Type
Select Blocking.
A blocking machine prevents all other blocking machines from starting – only one blocking machine can execute at a time.
This makes sure the player can’t click on another jewel while the game is swapping, destroying or moving jewels (since this is all caused by the JewelClick schematic). - Update Type
Select Update. - Stop On Destroy
Disable this setting.
Condition Settings #
Click on Add Condition, we’ll set up the game state condition here.
- Auto Check
Select None. - Needed
Select All.
In the added Condition 0, we’ll set up our game state condition.
- Condition Type
Select Game State.
Click on Add Game State.
- Condition Type
Select Game State. - Game State
Select In Control. - Check State
Select Active.
Destroy Jewel: Tagged Machine #
Destroying jewels is handled by the DestroyJewel schematic – which is started through a tagged machine on each jewel. In case you want to add special jewels that do something else upon being destroyed (e.g. destroy a whole row or column of jewels), you can create a different schematic and use it in this tagged machine.
Add a tagged machine component to the jewel prefabs (e.g. using the component menu: Makinom > Machines > Tagged Machine) and change the following settings.
Start Settings #
Click on Add Starting Tag to add a starting tag
- Tag
Set to destroy.
Machine Execution Settings #
- Schematic Asset
Select DestroyJewel. - Execution Type
Select Single. - Update Type
Select Update.
And that’s it – we don’t need to apply the changes, since we’ve been working on the prefabs directly.
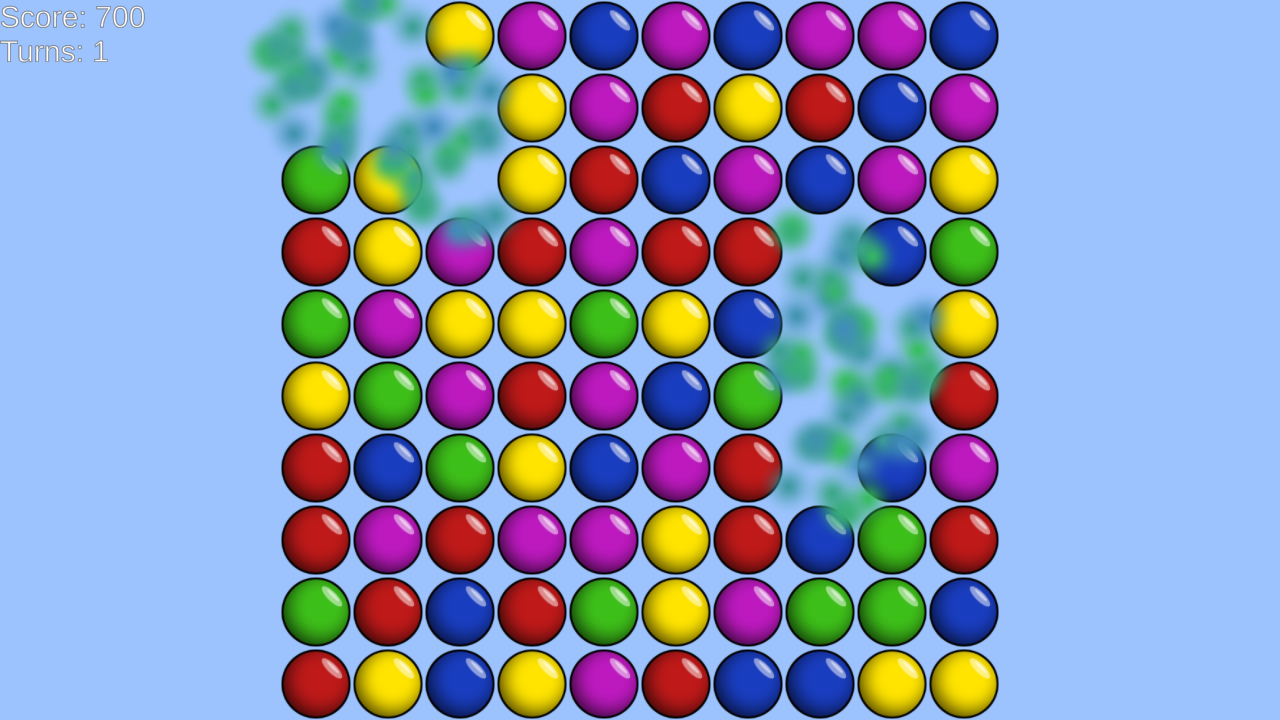
Testing #
Click on Play to test the game. You can now select and swap jewels by clicking on them – if matches are found after swapping jewels, they’ll be destroyed, leading to jewels above falling down, etc.
The player’s score and turns increase and are displayed by the HUD.
This concludes the match 3 game tutorial series. You can add additional content to the game, e.g. new levels, new jewels or new game modes (e.g. only having a defined amount of turns and having to reach a certain score).


