
HUDs are used to display information of the player and other things or add interactable functionality.
HUDs are set up in UI > HUDs.
Defining the actual position, size, style and content of a HUD depends on the used UI module, e.g. using the Unity UI module uses a prefab of the game object and component setup you created. Please refer the used UI module’s documentation for details.
HUD Types #
There are HUD types available for different purposes. Depending on the used UI module you’ll be able to mix functionality of different HUD types, e.g. the Unity UI module can mix individual components together as needed.
You can also create custom HUD types by deriving your class from the BaseHUDSetting class. Check out the included HUDs for examples and how to use UI system dependent setup.
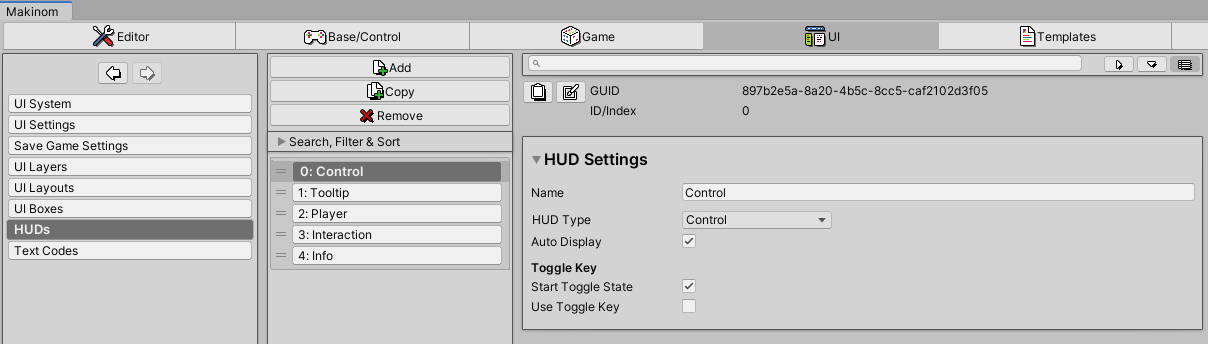
Control #
Control HUDs are intended for creating virtual controls like on-screen buttons and joysticks.
Information #
Information HUDs are used to display information. They can either be displayed on their own or based on a user (e.g. a game object, the player, etc.) and display information based on that.
When the HUD has a user, it can also be displayed based on the user’s game object position on screen.
Interaction #
Interaction HUDs are used to display information of available interactions, either from within the player’s Interaction Controller or below the mouse cursor.
The HUD can optionally be displayed at the position of the interaction or player (i.e. on-screen position of their game objects). Information displayed within the HUD depends on the displayed interaction, e.g. using a Scene Object component on an interaction allows defining content information like name or description and use that in the HUD.
Tooltip #
Tooltip HUDs display information of the current tooltip content. The tooltip content is whatever is currently below the mouse cursor (or a locked content from some UI selection), e.g. a game object with content information (like Scene Object component) or a part of a UI that has a tooltip (e.g. a choice button).
Display Conditions #
Displaying a HUD can depend on certain conditions.
You can define Game State and Variable conditions that have to be valid to display the HUD.
Some HUD types can also have additional settings, e.g. interaction HUDs can be limited to certain interaction types.
Showing HUDs #
If a HUD is displayed automatically is defined by it’s Auto Display setting. Additionally, you can toggle displaying the HUD on/off using the Toggle Key settings.
When not displayed automatically, you can call a HUD using a Call HUD node in a schematic.
You can also use an Add HUD (to Game Object) component to add a HUD instance for the game object it’s attached to. E.g. use it to add health bars or other UI for enemies, automatically using them as the HUD’s user (e.g. displaying it at their position, using their variables for content information, etc.).


