
Learn more about global machines and what you can use them for.
Unlike machine components, global machines aren’t added to game objects or animator controller states. They’re added in the Makinom editor (Base/Control > Global Machines) and can be started everywhere and anytime.
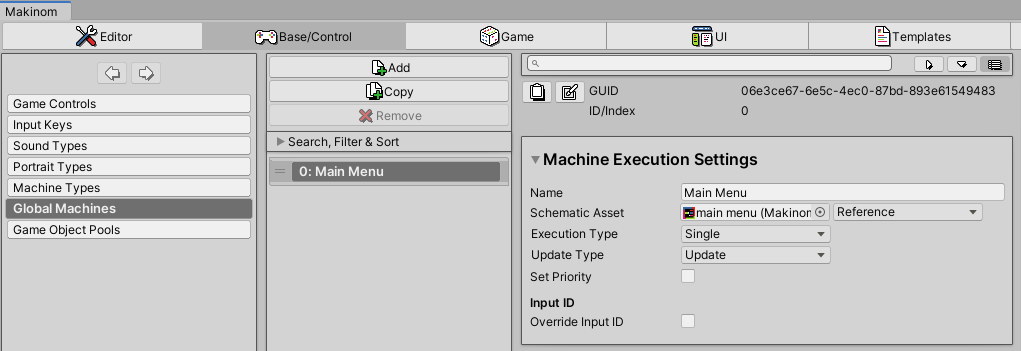
Using Global Machines #
A global machine isn’t bound to a game object and is available globally, i.e. they can be started in all scenes and at all times. Like machine components, global machines will play a schematic.
Starting a Global Machine #
A global machine can be started by schematics (Start Global Machine node) or HUD click actions. Starting a global machine via schematic will allow selecting the Machine Object and Starting Object.
Additionally, global machines can be started automatically. This is handled by the global machine’s Execution Settings.
Call #
This global machine type will only start when called (e.g. by a schematic). All other global machine types can also be started upon call.
E.g. a schematic will check for game over conditions and handle ending the game. The schematic needs to be started by various other schematics.
Setting this mechanic up as a call global machine allows starting it whenever needed, without adding it to a specific game object.
Auto #
The auto global machine will start automatically based on time and defined conditions. You can define a timeout between condition checks to e.g. only run the machine once per minute (60 second timeout).
Starting the machine can depend upon Game State Conditions and Variable Conditions.
E.g. a schematic handles a custom time system, increasing minutes, hours and days of in-game time (using variables).
Setting this mechanic up as an auto global machine with a timeout of 5 will increase the in-game time by 1 minute every 5 seconds.
Additionally, using the conditions, the time progression can be paused when needed, e.g. during cut-scenes or scene changes.
Key #
The key global machine will start when a defined input key is used. When the input key is used (e.g. Escape pressed down), the global machine will start if the conditions are valid.
Starting the machine can depend upon Game State Conditions and Variable Conditions.
E.g. a schematic handles a menu (Show Dialogue node) that should be displayed when the player presses the menu input key (e.g. using the Escape key).
Setting this mechanic up as a key global machine allows calling the menu without adding it to a specific game object. The menu is available whenever needed.
Additionally, using the conditions, the menu call can be blocked when needed, e.g. during cut-scenes or scene changes.
Scene #
The scene global machine will start when changing the scene. The machine can optionally be started in the old scene (i.e. before changing scenes) or in the new scene (i.e. after changing scenes), additionally the machine can run before or after fading the screen.
The Scene Change Type defines which scene changes can start the global machine, e.g. starting for All scene changes, only from Scene Changers, when loading the game or for Custom scene change types (defined by scene changers and Load Scene nodes in schematics).
Starting the machine can depend upon Game State Conditions and Variable Conditions.
E.g. a schematic saves the game to the auto save slot. The game should be saved automatically whenever the player enters a new scene.
Setting this mechanic up as a scene global machine (running in the new scene) will save the game whenever a new scene has been loaded.
Additionally, using the conditions, the auto save can be prevented when needed.


