
Setting up the player HUD and basic UI settings.
We’ll display a simple HUD that shows the player’s score and lives. HUDs (and other UI elements, e.g. dialogues) are displayed using GUI Boxes, which define the position and other settings of a UI.
First, we’ll set up some basic menu settings. Open the Makinom editor and navigate to Menus > Menu Settings. Change the following settings.
Base Settings
- Default Screen Size
Set to X=600, Y=900. - GUI Scale Mode
Select Scale To Fit. - GUI Anchor
Select Middle Center.
That’s it for the menu settings.
GUI Boxes
Now, we’ll set up 2 GUI boxes, one for the HUD and one for a game over dialogue. Navigate to Menus > GUI Boxes and change the following settings.
0: Player HUD
Edit the first (default) GUI box.
Base Settings
- Name
Set to Player HUD. - Height Adjustment
Select Auto.
The height of the GUI box will automatically be adjusted to the displayed content.
Content Box Settings
- Bounds
Set to X=0, Y=0, W=600, H=200. - Anchor
Select Upper Left. - Show Box
Disable this setting.
1: Game Over
Add a new GUI box.
Base Settings
- Name
Set to Game Over. - Height Adjustment
Select Auto.
Content Box Settings
- Bounds
Set to X=300, Y=450, W=300, H=200. - Anchor
Select Middle Center. - Show Box
Disable this setting. - Font Size (Text Format)
Set to 40.
Choice Settings
- Text Color
Select a yellow color (e.g. R=255, G=255, B=0). - Font Size
Set to 20. - Text Alignment
Select Center.
That’s it for the GUI boxes.
The Player HUD
Finally, we’ll set up the player HUD – displaying the score and lives of the player. Navigate to Menus > HUDs and change the following settings of the default HUD.
HUD Settings
- Name
Set to Player HUD. - GUI Box
Select Player HUD. - HUD Type
Select Information.
Display Conditions
- Auto Display
Enable this setting.
The HUD will automatically be displayed in the running game.
We’ll add a game state condition to hide the HUD while changing scenes (i.e. when restarting after game over). The default game states of new Makinom projects already include a game state that will be active when changing scenes. You can learn more about game states in this how-to.
Click on Add Game State to add a game state condition.
- Condition Type
Select Game State.
We’ll check a single game state. - Game State
Select Changing Scene. - Check State
Select Inactive.
The HUD should be displayed while not changing scenes.
Information Element 0
Click on Add Information Element to add a new HUD element. A HUD displays information (e.g. text or images) through HUD elements – the elements are positioned within the content bounds of the used GUI box.
We’ll display the score and lives in this element as texts, both are stored in global variables. You can display variables using text codes, which can be added through the text editor buttons (click on More to display more options) or by typing them into the text box directly. An int variable can be displayed through <var.int=variablekey>.
- Element Type
Select Text. - Text (English)
Set to:
<text.size=30>Score: <var.int=score><-size>
Lives: <var.int=lives> - Variable Origin
Select Global.
The text will use global variables for the text codes.
The Element Bounds define the position and size of the HUD element.
- Position
Set to X=0, Y=0. - Anchor
Select Upper Left. - Relative To
Select Upper Left. - Width
Set to 100. - Is Percent (Width)
Enable this setting. - Adjust Width
Enable this setting. - Height
Set to 100. - Is Percent (Height)
Enable this setting. - Adjust Height
Enable this setting.
And that’s it for now – click on Save Settings to save the changes.
Testing
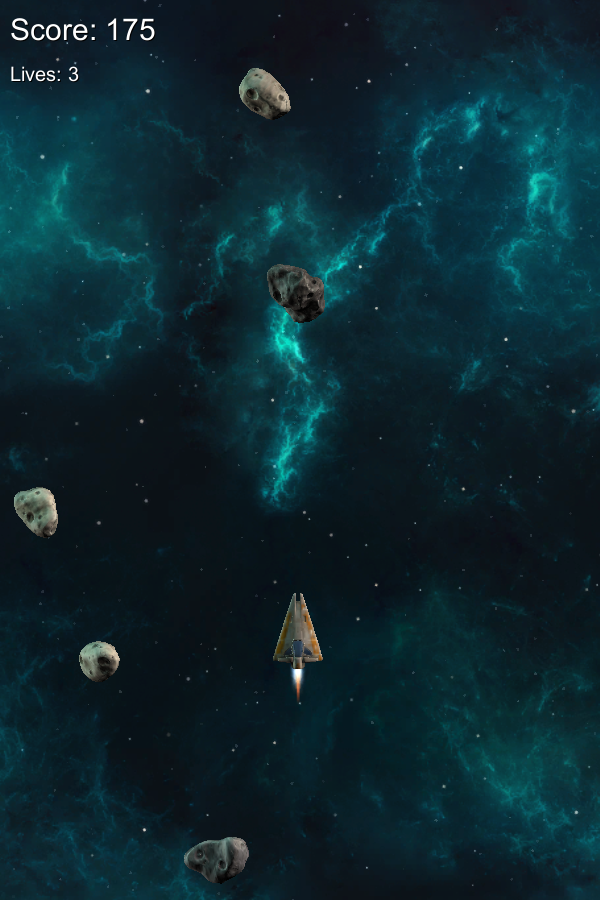
Click on Play to test the game. You’ll now see the HUD displayed in the upper left corner of the screen – it’ll update when the player’s score is increased. The lives are currently not updated, because this game logic isn’t yet added to the game – this will be our next task.
The next tutorial will handle the player’s destruction.