
Learn more about the Makinom editor.
The Makinom editor is used to define your game data and create schematics. The editor is separated into multiple sections and sub-sections.
Using the Editor #
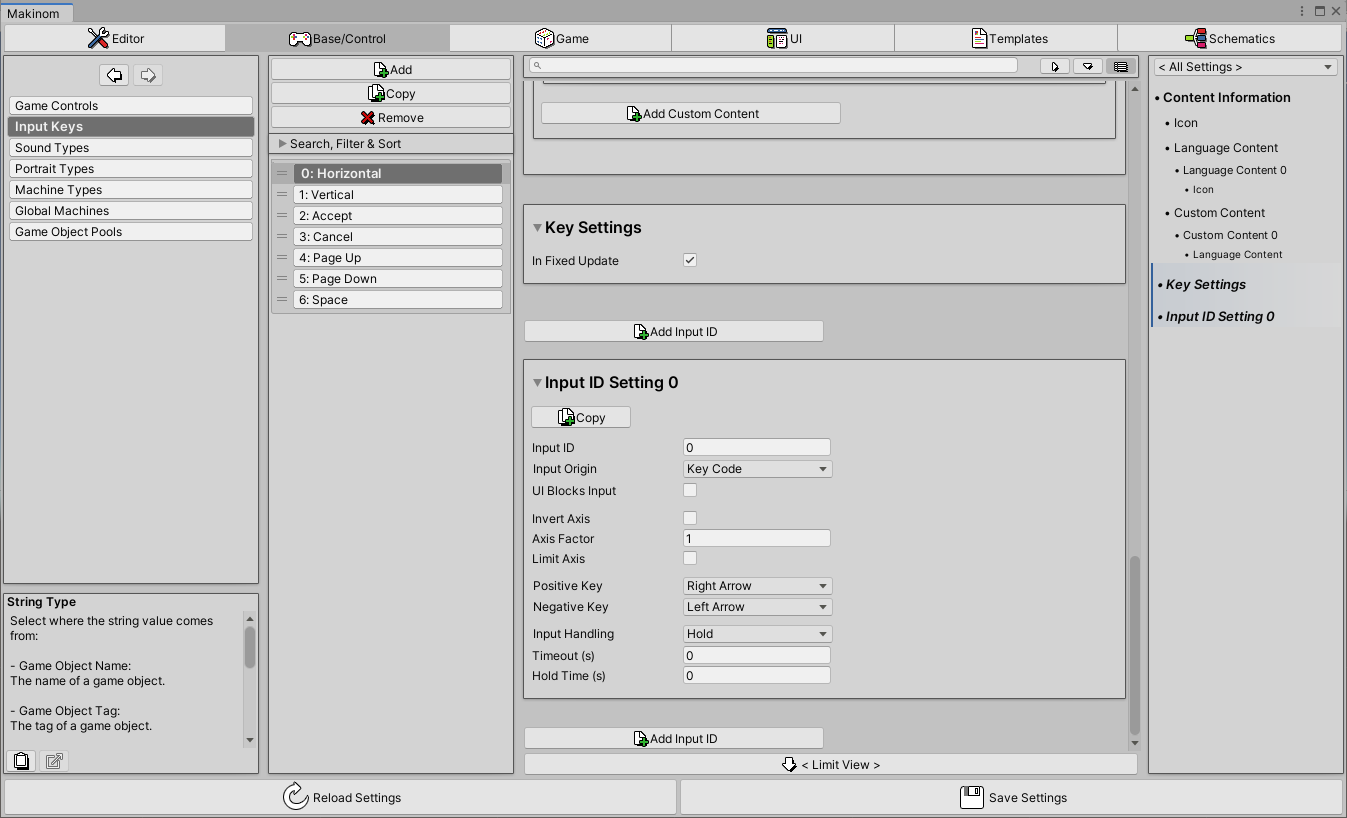
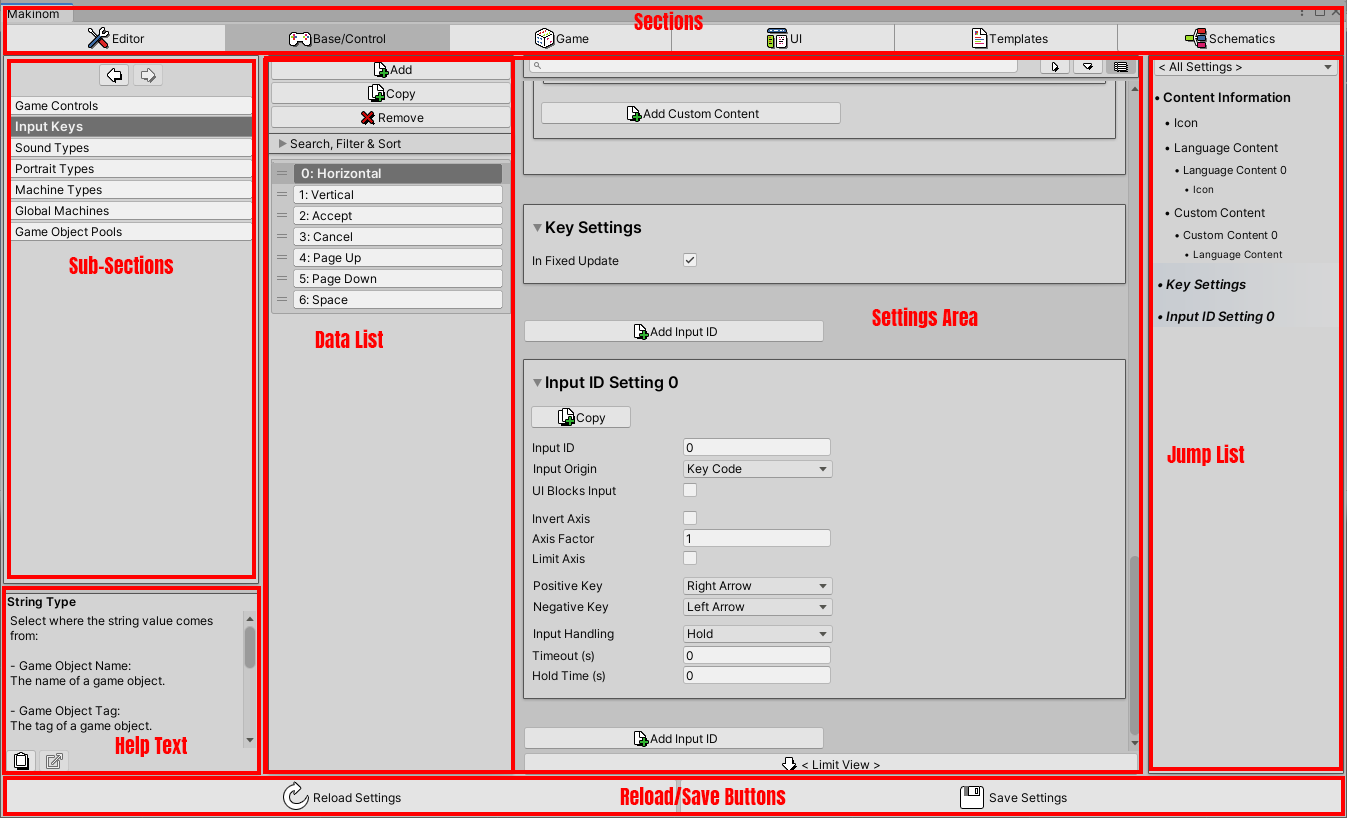
The Makinom editor is separated into different areas.
- Sections
The sections are selected by the buttons at the top of the editor. - Sub-Sections
The sub-sections are selected by the button list at the left side of the editor.
The top of the sub-section area contains buttons to navigate backwards and forwards in the section/sub-section change history. - Help Text
The help text is displayed in the lower left corner of the editor. - Settings Area
The settings area uses the largest part of the editor (center+right side).
Depending on the selected section and sub-section, the settings area can be split up into a Data List (listing the available data, e.g. input keys or UI boxes) and settings area. - Reload/Save Buttons
The changes are saved or the last saved state reloaded by the buttons at the bottom of the editor. - Jump List
The jump list allows quickly jumping to settings.
It can be shown or hidden using the icon in the top-right corner of the settings area.
The size of the different areas can be changed by the drag handles between them.
Opening the Editor #
You can open the Makinom editor using the following methods:
- Unity menu
Using the Unity Menu: Window > Makinom - Hotkeys
Windows: CTRL+ALT+M
Mac OSX: CMD+ALT+M - Makinom Project Asset
Either double click on a Makinom project asset file or select it and click on Open Project in the inspector.
This will open the Makinom editor and load the used project asset. - Schematic Asset
Either double click on a schematic asset file select it and click on Edit Schematic in the inspector.
This will open the Makinom editor, load the last used project and opens the schematic asset in the Schematics section.
Help Texts #
There are help texts available for all settings in the Makinom editor. The help texts are displayed in the lower left corner of the editor.
By default, the help text of a setting is displayed when you hover with the mouse above the setting. This behaviour can be changed in the editor settings (Editor > Editor Settings).
Data Lists #
Data lists are displayed in the settings area for sub-sections that allow creating multiple sets of data, e.g. input keys.
The data list is used to add, remove, copy and move data in the list. You can also search and sort the data list and, depending on the sub-section, filter the list.
Filtering is only available for data that has a type selection, e.g. formulas or scene objects.
Reorderable Lists #
The data lists can easily be reordered by dragging the individual items.
There are also sorting options available in the Search, Filter & Sort foldout above the list items.
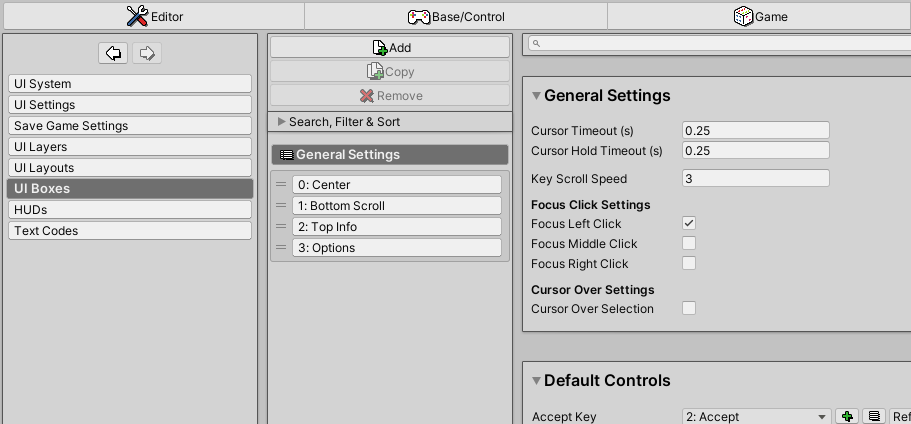
General Settings #
Certain data lists (e.g. UI boxes) have General Settings to provide default setup that can be overridden by individual list items.
Data Selection Fields #
The data selection fields are popups where you select data that you’ve created in the Makinom editor, e.g. selecting an Input Key.
![]()
Beside the popup, there are 2 small buttons available:
- Add (green plus)
The add button will add a new set of data and select it in the field.
E.g. if the field is an Input Key selection, a new input key will be added. - Edit
The edit button will take you directly to the settings of the currently selected data.
E.g. if the field is a Game State selection, it’ll open the selected game state’s settings.
The popup on the right of the small buttons is the asset source selection, defining how the data’s asset will be referenced in this field. See asset sources for more details.
Searchable Popups #
All popup selections (e.g. for selecting data like input keys) are searchable.
Data selections also have sorting options and can optionally be divided into sub-lists in case the data has types (e.g. scene objects can be listed by scene object types).
Popup Favorites #
Mark entries in popup fields as favorites by clicking on their star icon at the right side.
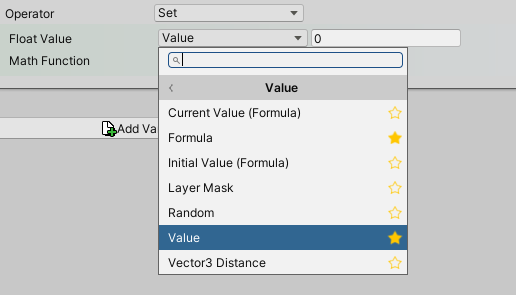
Favorites are listed in their own sub-menu at the top of the available selections.
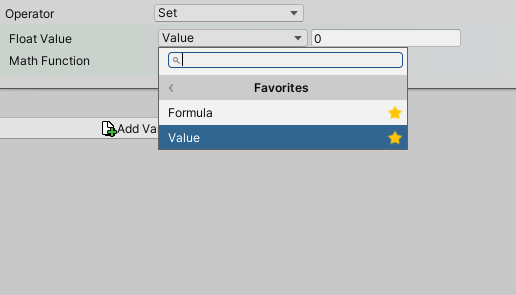
To remove a favorite, simply click on it’s star icon again.
Favorites are not avaialble for data selection popups (e.g. to select an input key).
You can reset all popup favorites via the EditorData asset found in Assets/Gaming Is Love/_Data/. Click on the Clear Popup Favorites button in the asset’s inspector.
Copy/Paste Settings #
You can use a context menu to copy settings into the clipboard and paste them on other, compatible settings.
Which settings are part of the copied data are highlighted by a blue color (the color can be changed in Editor > Editor Settings).
This can be useful if you have to redo the same setup on multiple things, even if you need to change a setting or 2 of the copied setup.
The settings stored in the clipboard will stay as they are when they where copied, even if you change the settings you copied.
Depending on the settings, this can also be used to copy some individual fields/settings instead of a whole setup, e.g. value fields:
Foldout Coloring #
Mark important settings by changing the color of a foldout.
To change a foldout’s color, click on the small square icon in it’s upper right corner.
You can reset all foldout colorings via the EditorData asset found in Assets/Gaming Is Love/_Data/. Click on the Clear Foldout States button in the asset’s inspector.
Language Content #
Learn more about language content definition and language export/import functionality in the languages documentation.
Sections #
The Makinom editor is separated into the following sections:
- Editor
- Base/Control
- Game
- UI
- Templates
- Schematics
See below for more details on the different sections and their sub-sections.
Editor #
The Editor section contains mostly settings and informations related to the Makinom editor.
Learn more about it here.
Base/Control #
The Base/Control section contains the settings related to control and basic game data.
Learn more about it here.
Game #
The Game section contains the settings related to the game (e.g. game states, languages) and that are used in your game world (e.g. formulas, camera positions, scene objects).
Learn more about it here.
UI #
The UI section contains the settings related to UI and save games.
Learn more about it here.
Templates #
The Templates section contains the settings for all kinds of templates that are used by Makinom.
Learn more about it here.
Schematics #
The Schematics section is used to create and edit schematics. Schematics are edited using the node editor.
Learn more in the schematics documentation.
Saving Settings #
Saving the editor settings (via Save Settings button in the bottom right) will list the changed settings.
It’ll show removed data ([-]), newly added data ([+]) and settings that have changed.
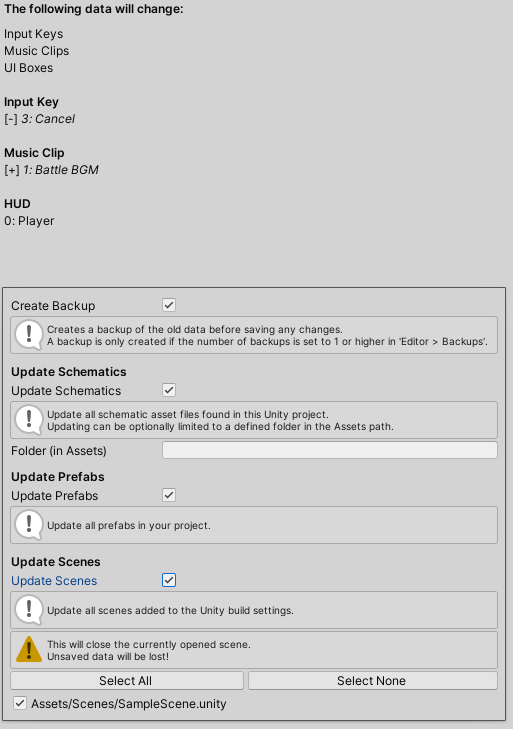
Beside listing the changes, it’ll offer additional options for updating data in your Unity project.
Create Backup #
Enabling this will create a backup of the previous setup. Backups will package everything in the Makinom data folder (Assets/Gaming Is Love/_Data/) into a unitypackage file.
Backups can be restored via Editor > Backups in the Makinom editor.
Data Updates #
Certain changes in the Makinom editor can make it necessary to update other content in your Unity project.
This mainly happens when changing the GUID of a list content (e.g. an input key) or removing a list content (e.g. a variable change template). The update options are only available if an update is needed.
Update Schematics #
Enabling this will update all schematics in your project (optionally limited to schematics within a folder and it’s sub-folders).
Update Prefabs #
Enabling this will update data in components on your prefabs.
Update Scenes #
Enabling this will update data in components in your scenes.
This will close the current scene and open every scene in added in your Unity build settings.


